
The Step-By-Step process To adding a Variable Product in WooCommerce 2019
Do the items your selling have multiple attributes? Let’s dive into a one of our clients website, were they sell clothing that have different prices between each variant. You can check out our design here: www.apperalbrothers.com.
In the next few blogs we will show you how to add products, update your menu with a password protected page (protected categories). Everything you need to know about WordPress starts within the Dashboard.
Let’s start with adding a variable product in WooCommerce 2019.
From the Dashboard, hover over products, then click “Add New”
Then give your product a title in the space, “product name”
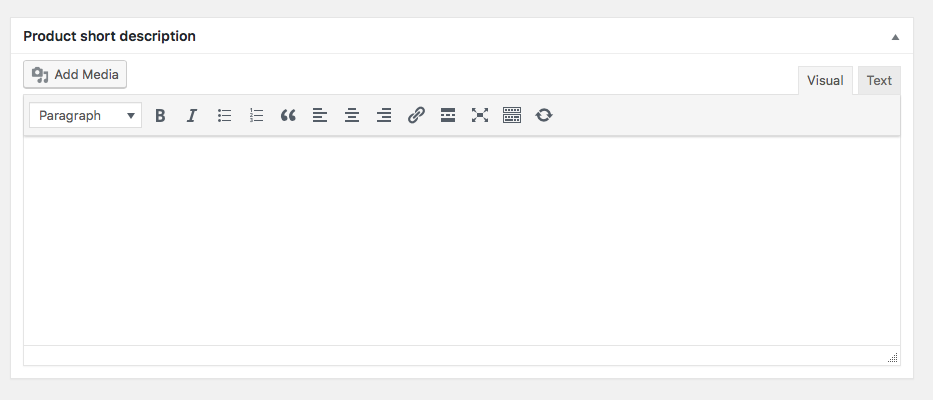
Next, in the big white box, type out your product description, then copy and paste your description in the “product short description” (picture shown below)
Now, let’s add pictures.
To set the main image, click “set product image”
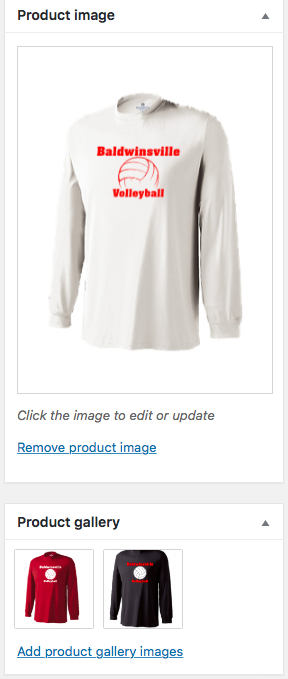
Then select your image, or you can drag and drop a new image from your desktop. Then click the blue button that says, “set product image”
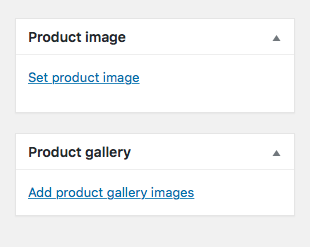
If you’d like multiple pictures for one product, you can add them in the product gallery (pictured above).
Just follow the same process as you did for the “product image” but keep in mind you can add multiple photos in the gallery.
If you did this correctly it should look like this:
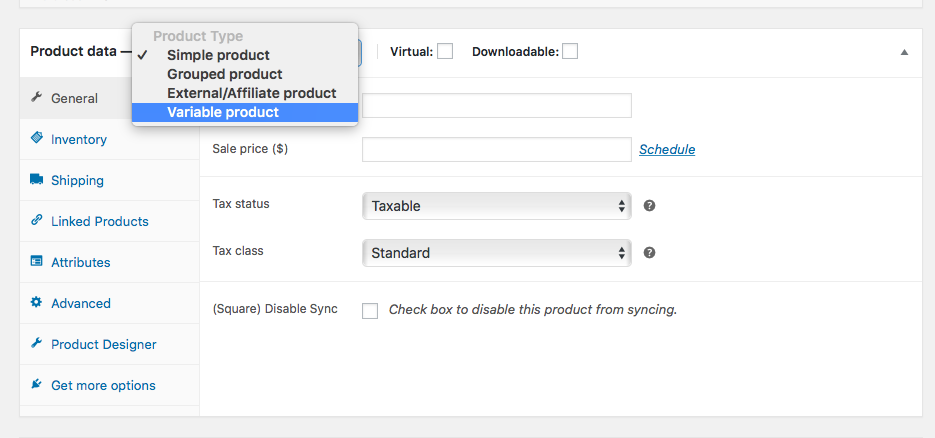
Now, let’s look at the most time consuming part of this entire process. Adding the variable prices.
Switch from simple product to variable product (photo below)
Then click “Attributes” on the left side table.
From there you click the “add” button.
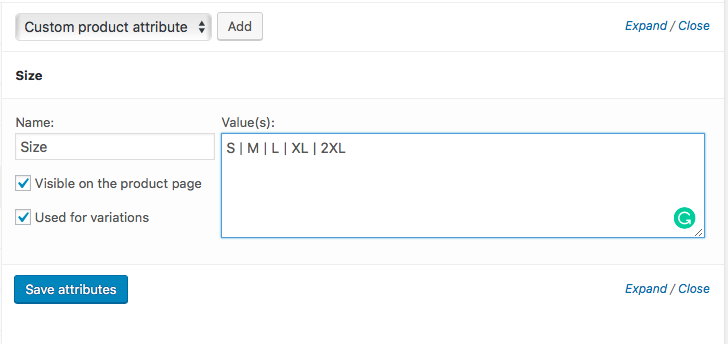
Repeat that step until you add all of your Attributes. Make sure you use | in between each value. For our clients case we had 3 Attributes.
Size: S | M | L |XL | 2XL
Color: Red | Black | White
Personalized: Name & Number | Name | Number
MAKE SURE YOU CHECK THE BOX THAT SAYS, “Used For Variations”
Then Click “Save Attributes”
This is what it should look like:
From there click, “Variations” it’s right under Attributes on the left side table.
On the dropdown bar, click “Create Variations from all attributes”

Then click “Go”
Depending on the number of attributes you made, an X amount of Variations get created (50 at a time max).
From there, click “Expand” (under the “go”)
Out of all the customization options the only thing you need to add is the price (pictured below)
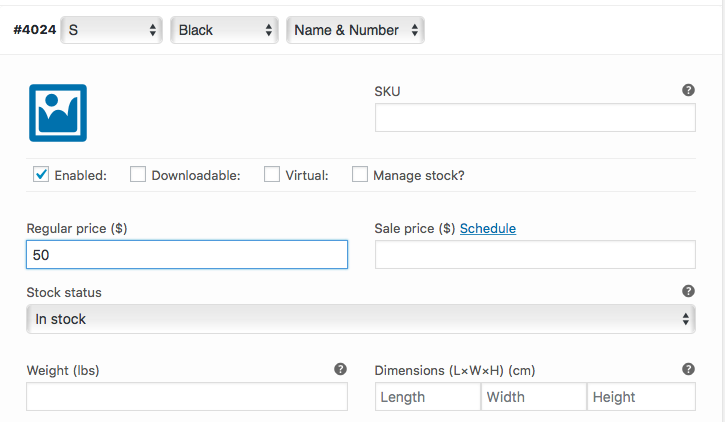
This is where the variable products come into play. For example, a small shirt with the name and number customized on it could be 25 dollars, and a 3XL with no name and number could be 23 dollars.
Once you finish adding all the prices click “save changes”
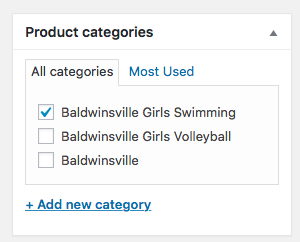
For the last step all you have to do it select the category you’d like the product to be in (Pictured below).
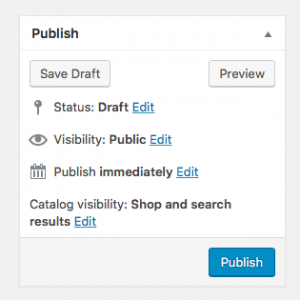
You can preview the product before publishing by clicking “preview”
Finally Click the Blue “Publish” button.
If you have any questions contact us today, or visit more of our blog to find more information.