
How to update the icons in your main shop page.
Okay, so this step should be the last thing you do in your store building process. You need to have the category, and the page is done at this point!
Step 1: Go to your dashboard, click “All Pages”
Step 2: Scroll down to the page “Shops Cata” then Click, “edit”

Step 3: Go to the latest icon, then duplicate all elements within the box. You do that by clicking the clone button that looks like this:
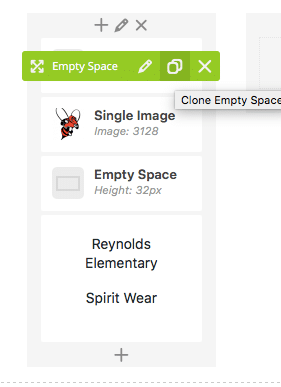
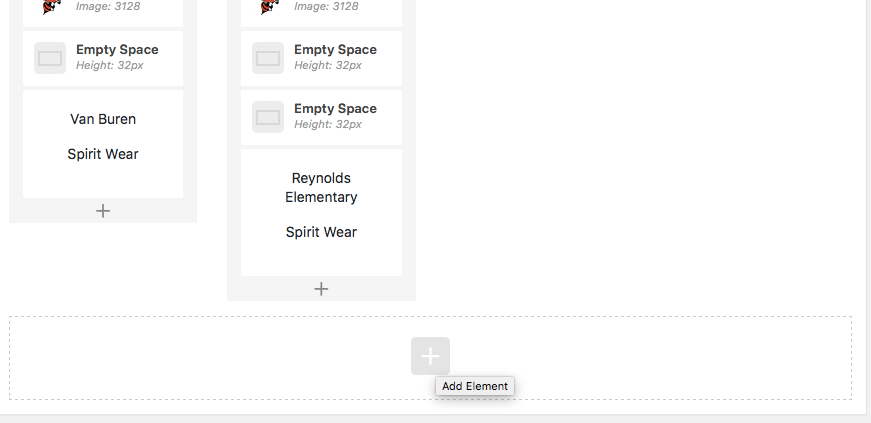
It should look like this when you have cloned them all.
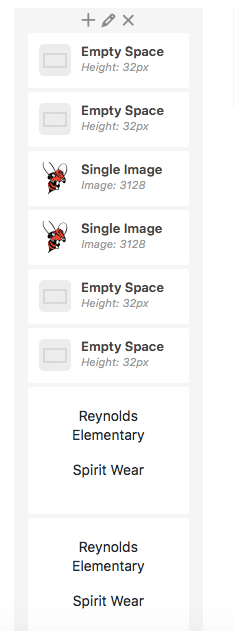
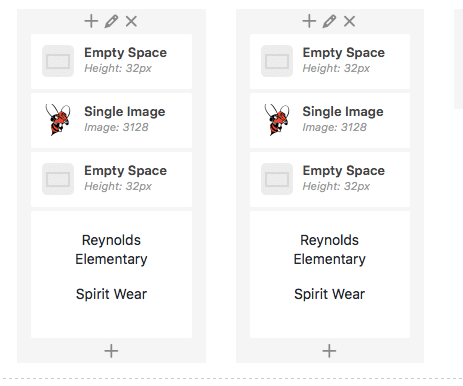
Step 4: Drag all the repeated elements to the box to the right, and make sure they look like all the other boxes. After you are done it should look like this:
Step 5: Now you edit the picture, I suggest changing up the pictures instead of keeping all the bees. You do that by hovering over the picture and clicking the edit button (it’s the pencil icon).

Step 6: Change the picture or keep it the same (you can upload a photo from here as well.) Just hit the plus sign if you want to change the picture…but make sure you delete the bee. Regardless if you change it or not you must do the next step!
Step 7: Scroll down to Image link then, copy and paste the link to the store page that you just built! Then click: “save changes” This is an important step!

Step 8: Go to the title of the store, then click the edit icon (the pencil again) then change the name to the desired category. EX: red creek soccer, red creek baseball. Make sure it is in the same format as before. Try to just backspace, and don’t delete it all or else the format will be gone.
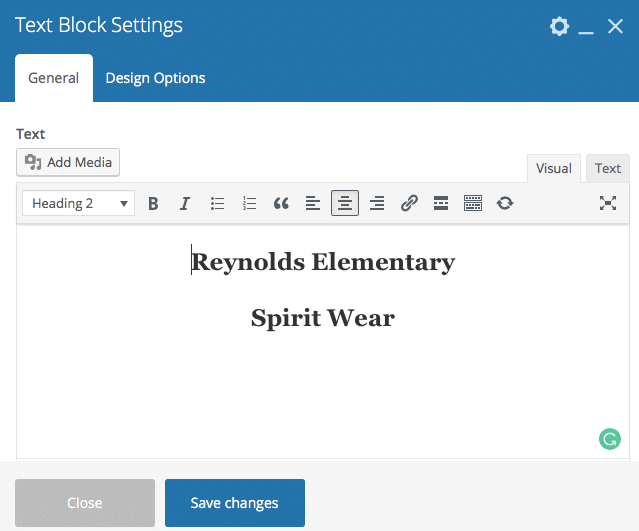
Click: “save changes”
Then you are done…Click Update on the right-hand side!
When you run out of space, you are going to have to add a new row and start back from step three. I will show you how to do that here:
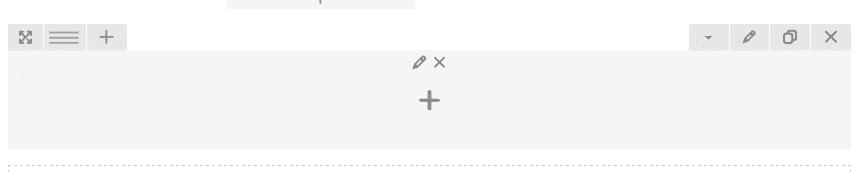
So Step 1: under everything, there is an icon with a “+” click that to add an element!
Step 2: Click “Row”.. it is the second option.

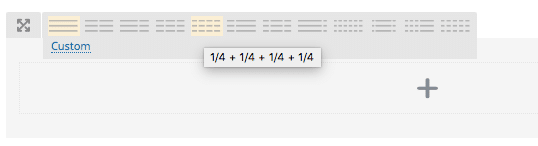
Step 3: Hover of the 3 lines (picture below) Then click the option with 4 dashed lines (pictured below)
Step 4: Scroll back to step 3 and run through the entire process!
Boom. New Icons linked to your store!